Microsoft Word is known as a great word processor, but you can also use it to create your own calendar template in word. In Word 2013, you can create your own photo calendar from scratch, or customize a template to suit your needs. Customizing a calendar template is much faster. However, some photo calendars are not in tabloid format.
To create a letter- or legal-sized photo calendar that you can print at home, make it faster than a scratch. This is a powerful publishing design tool, and you can use it to create your own calendar.
Here’s how to do it. This FixingBee teaches you how to create calendars in Microsoft Word for Windows and Mac. You can use a Microsoft calendar template to quickly create a calendar, or you can create your own calendar using a table yourself. You can also create a calendar template on OneNote and FixingBee provided this tutorial on the previous link.
[thrive_progress_bar count=”1″ label0=”Method 1:” percentage0=”100″ color0=”green”]
How to make a calendar template on word with online templates
To create a calendar with an online template in a Word document, please do the following.
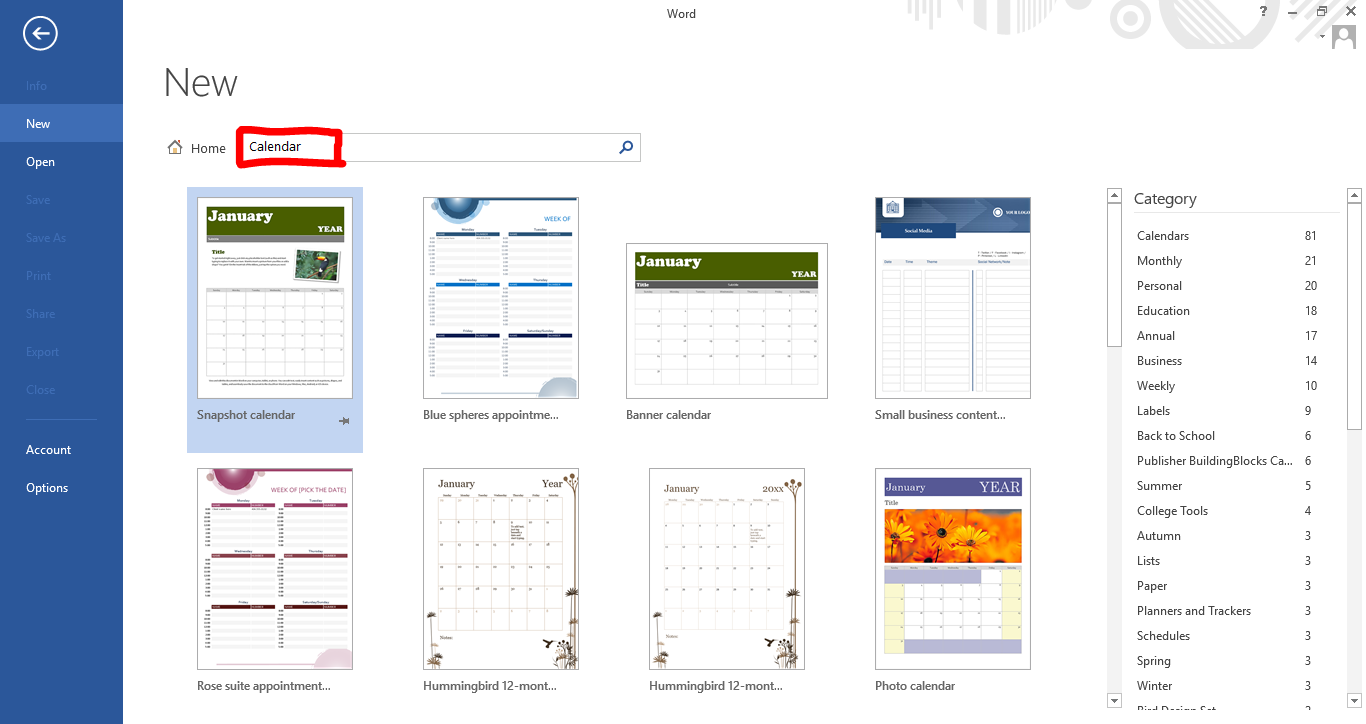
- Open Microsoft Word. It’s at the top of the Word window. then press the Enter key. See screenshot:
- Click the search bar. On Mac, first, click File in the upper-left corner, then click New from Template… in the drop-down menu.
- Click the search bar. On Mac, first, click File in the upper-left corner, then click New from Template… in the drop-down menu.
- Doing so will search the template store for calendar templates. You must be connected to the Internet to do this. Select a calendar template. Click the calendar you want to use. The calendar page will open.
- Click Create. It’s to the right of the calendar. This will prompt the calendar template to download.
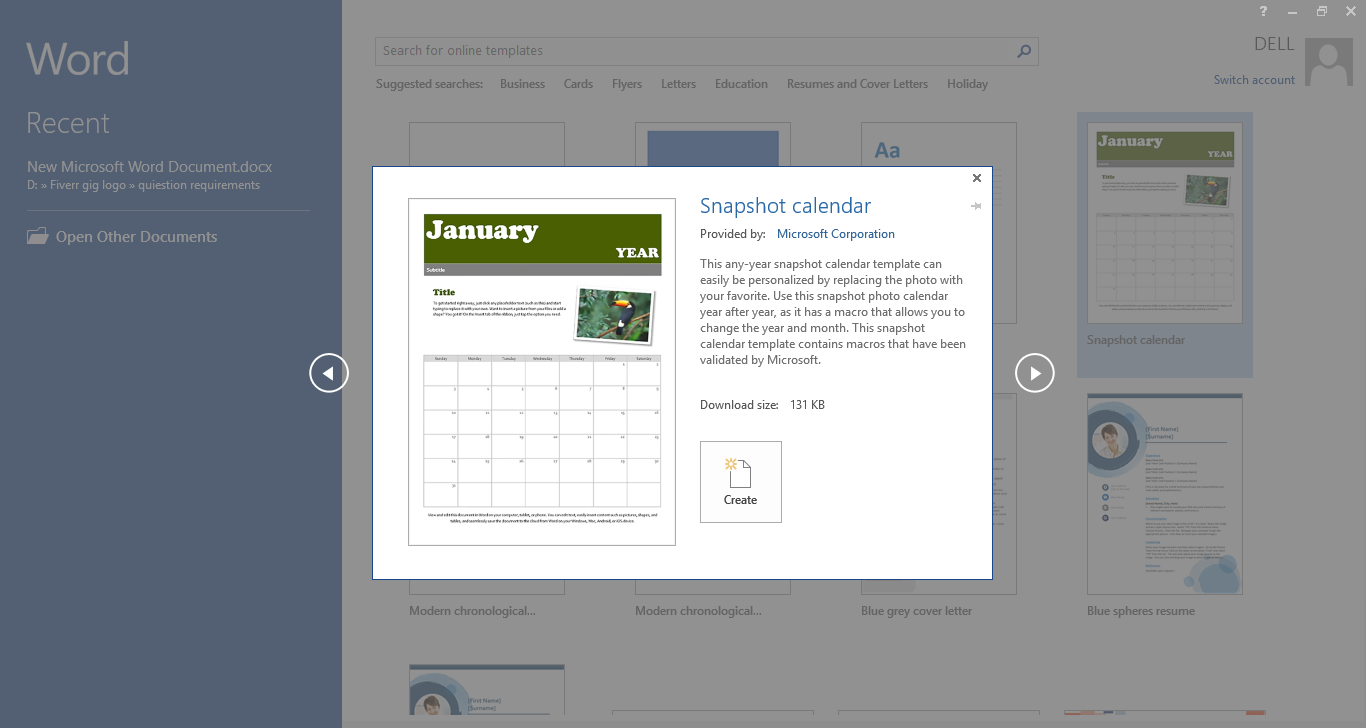
- Wait for the calendar to load. Once the template download is complete, it will automatically open in Microsoft Word.
- You can change the look a bit. Click Themes and Adjust Themes, or click Colors to try a different color. You can click on the fonts to adjust the fonts.
[thrive_progress_bar count=”1″ label0=”Method 2:” percentage0=”100″ color0=”green”]
Creating a Calendar Manually
Creating a calendar from scratch in Microsoft Word takes a little more time and energy than just using a template, but if you want full design credit for your calendar, you want to build it from scratch.
Step 1: Create a new blank Word document.
Step 2: Click the Insert tab and then the Table icon. A drop-down menu will appear. Hover your mouse over the grid to increase or decrease the number of rows and columns in the table. For the calendar, you’ll need a 7 × 7 table, so hover your mouse over the appropriate square on the grid and click to Enter or insert the table.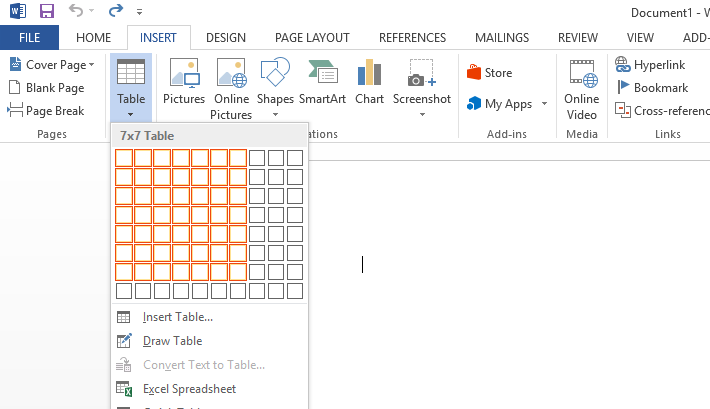
Step 3: Drag the cursor over each cell of the table. Click the Table Tools Design tab and then click the vertical cell size icon. Increase the vertical size to 1 inch. Click the Home tab and click the right alignment icon in the Paragraph section of the ribbon. You can also change the font or font size if you wish.
- With the 7×7 table inserted, it’s time to start formatting the calendar. First, we want to adjust the height of the table’s squares.
- Place your mouse over the table and an icon will appear in the top left corner. Right-click on that icon. Next, select “Table Properties” from the menu.
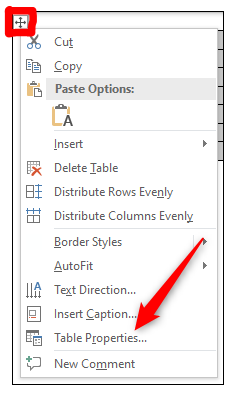
- The “Table Properties” window will appear. Click on the “Rows” tab, check the box next to “Specify height” and enter the desired height in the text box. 2.5 cm is a comfortable height, but you can adjust it to fit your preferences.
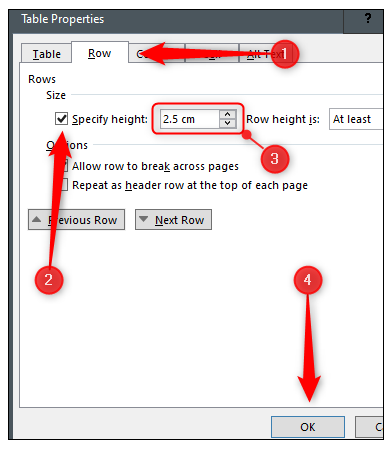
- Press “OK” when done.
Enter the Dates, Add Day and Month Names
Select the first row, select “Insert”, then select “Insert row above”. Select that row, then select “Merge Cell” to create a single space for the header. Drag the cursor to the table and change the text to the month’s name. Right-click the text box and change the border color to None. Change the text’s alignment to Center Alignment using the option under the Home tab.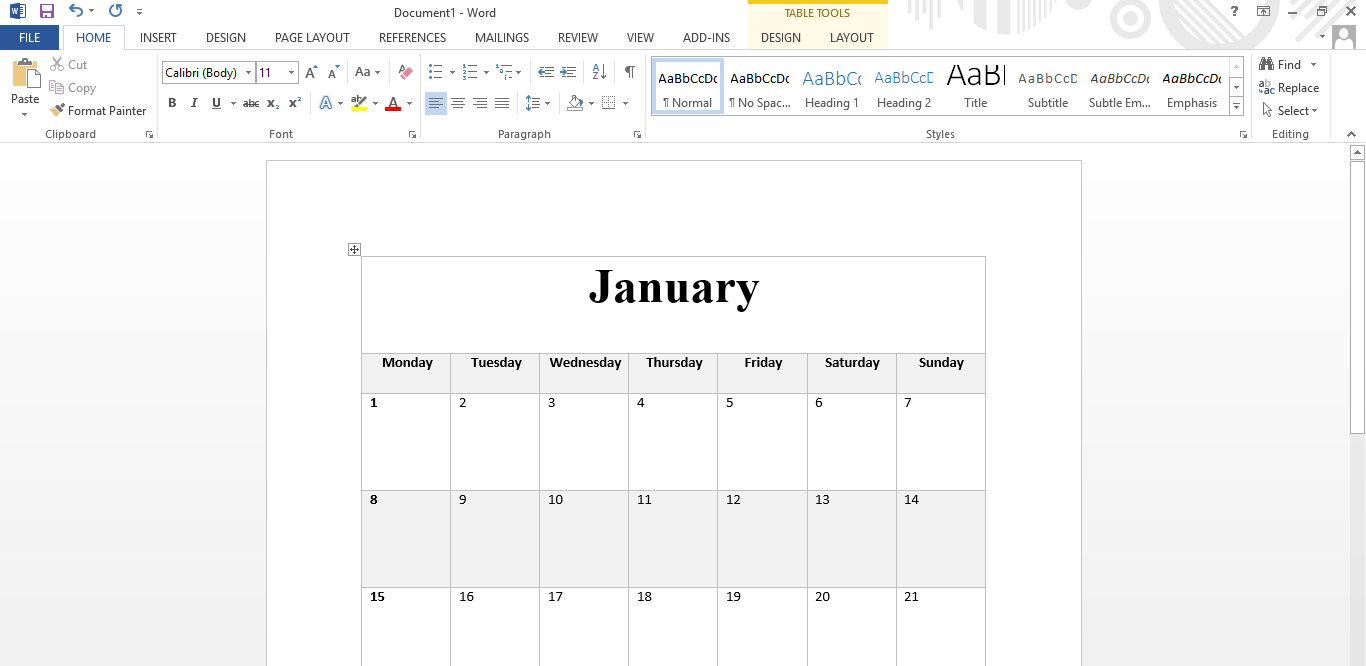
Make a note of the date on which the first month falls. Click and type that day in your calendar 1. Press tab and type 2, then continue tabbing through the calendar until you get the last day of the month.
Drag the cursor over the cell of the table, right-click on the table and select the border icon. Select borders and shades. Under the Borders and Shading window’s Borders tab, click the color icon and select any color you like.
Insert a Picture & Crop the Picture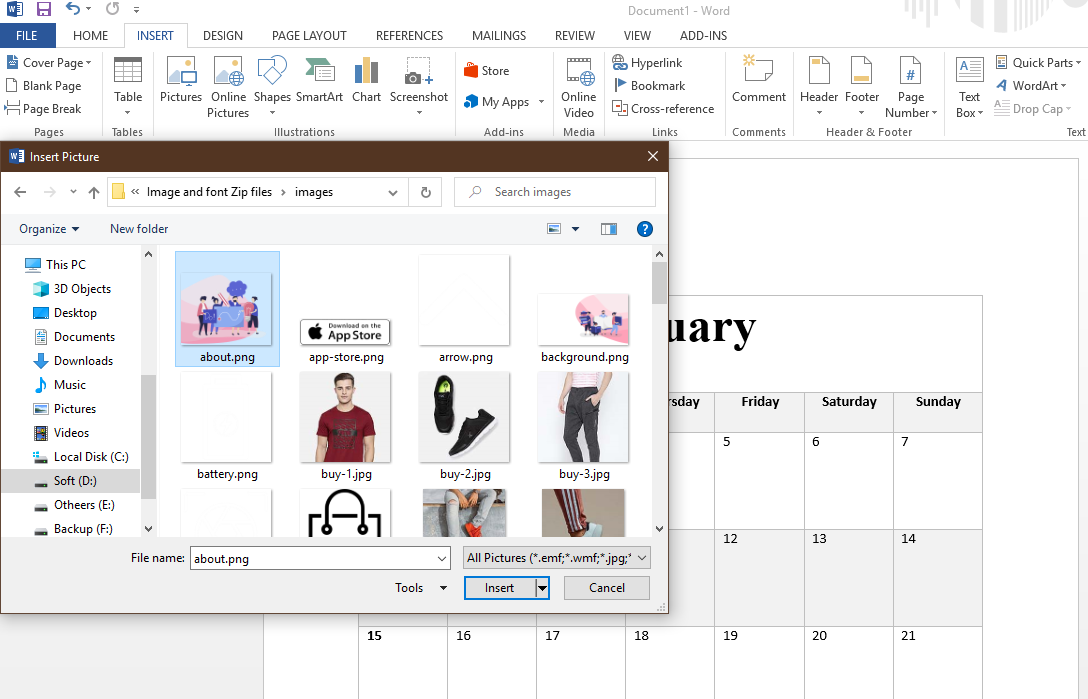
Click the Insert tab and select Picture or Online Picture. When selecting an image, click the Picture Tools Format tab, and then click the Crop icon. Draw the crop line so that it is higher than the table on the left. Drag the position of the image between the desired crop marks and press Enter. Choose an image for the calendar page and it will appear at the top of the second page, which is now directly next to the first page.
Right-click the image and click the Layout Options icon in the corner and change the text folder to the back of the text. Drag the image to the top of the first page.
I hope this article is helpful for you to create a calendar template in word. Please share your experience in the comment section.